The Complete Podcast Equipment Guide for Beginners: Essentials You Need
Starting a podcast can be an exciting journey, but the multitude of equipment choices available can be overwhelming for beginners. In this comprehensive guide, we’ll break down everything you need to get started with podcasting, focusing on essential equipment and best practices to ensure your podcast sounds professional and engaging. Whether you’re looking to record at home or utilize a professional podcast studio, like those offered at World Park in Alpharetta, we have you covered. By the end of this article, you’ll have a clear understanding of what podcast equipment you actually need to produce high-quality audio content.
Why Podcast Equipment Matters
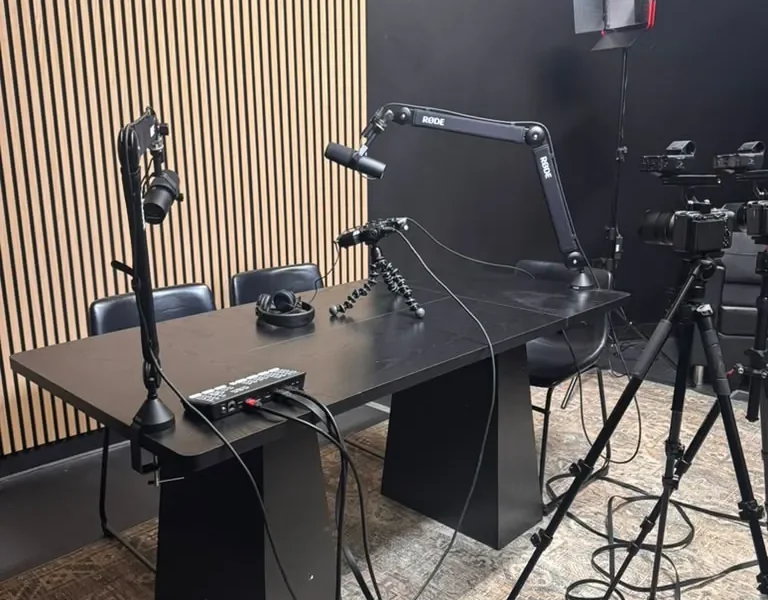
Your podcast equipment plays a crucial role in the quality of your content. Poor audio quality can turn listeners away, regardless of how compelling your topic may be. According to a Pew Research report, 50% of adults in the U.S. have listened to a podcast. This growing audience means that your podcast must stand out through quality production. Investing in the right equipment not only enhances your audio quality but also boosts your credibility as a podcaster.
Essential Podcast Equipment
When starting your podcast, you don’t need to break the bank. Here’s a list of essential podcast equipment that every beginner should consider:
- Microphone
- Audio interface or mixer
- Headphones
- Recording software
- Pop filter
- Microphone stand or boom arm
- Acoustic treatment (optional)
Let’s dive deeper into each of these components.
Microphones
The microphone is arguably the most critical piece of equipment for your podcast. There are two main types of microphones you can choose from:
Dynamic Microphones
Dynamic microphones are durable and handle high sound pressure levels well, making them suitable for loud environments. They are less sensitive to background noise, which is beneficial if you’re recording in a less-than-ideal acoustic space. Popular models include:
- Shure SM58
- Audio-Technica ATR2100x
- Samson Q2U
Condenser Microphones
Condenser microphones are more sensitive and capture a broader frequency range, making them ideal for studio settings. They pick up more detail but can also capture unwanted background noise. Some well-regarded models include:
- Audio-Technica AT2020
- Blue Yeti
- Rode NT1-A
For beginners, the Audio-Technica ATR2100x is a versatile choice, as it can connect via USB or XLR, allowing for future upgrades to more complex setups.
Audio Interfaces
If you opt for an XLR microphone, you will need an audio interface to connect your microphone to your computer. An audio interface converts the analog signal from your microphone into a digital signal for your computer. Some popular options include:
- Focusrite Scarlett 2i2
- Behringer UMC22
- PreSonus AudioBox USB 96
These devices typically offer phantom power, which is necessary for condenser microphones, and allow for multiple input channels for recording guests.
Headphones
Good headphones are essential for monitoring your audio as you record. Closed-back headphones are recommended as they prevent sound leakage, ensuring that what you hear doesn’t bleed into the microphone. Consider the following options:
- Audio-Technica ATH-M50x
- Sony MDR-7506
- Shure SRH440
Recording Software
Choosing the right recording software can significantly affect your workflow. Here are a few popular options:
- Audacity: A free, open-source software that is user-friendly and great for beginners.
- GarageBand: Free for Mac users, it offers a range of built-in effects and is easy to use.
- Adobe Audition: A professional-grade software that offers advanced editing capabilities but comes with a subscription cost.
Regardless of the software you choose, ensure it supports multi-track recording, which allows you to edit each audio source separately.
Additional Accessories
While the above equipment forms the core of your podcasting toolkit, several additional accessories can enhance your setup:
- Pop Filter: This helps eliminate plosive sounds (like ‘P’ and ‘B’) that can cause distortion in your recordings.
- Microphone Stand/Boom Arm: A sturdy stand or boom arm allows you to position your microphone conveniently while keeping hands free.
- Acoustic Treatment: If you’re recording in a room with hard surfaces, consider adding acoustic panels or foam to reduce echo and improve sound quality.
Setting Up Your Podcast Studio
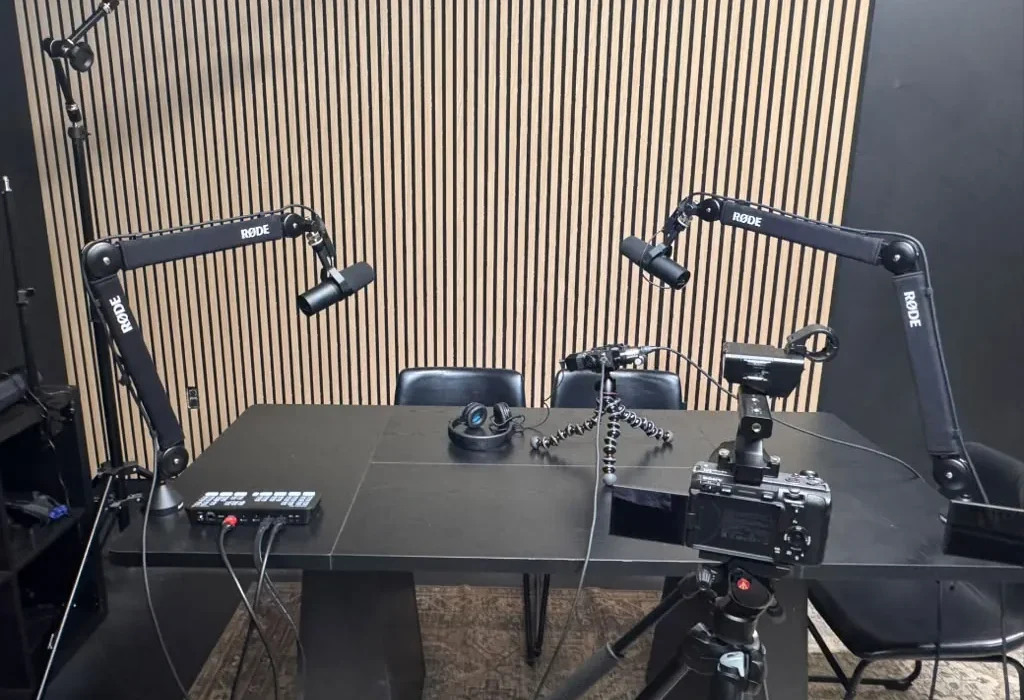
Once you’ve gathered your equipment, it’s time to set up your podcast studio. Here are some steps to create an effective recording environment:
- Choose Your Space: Select a quiet room with minimal background noise. Ideally, this space should have soft furnishings to absorb sound.
- Position Your Microphone: Set up your microphone at mouth level and ensure it’s a few inches away to capture clear audio.
- Test Your Equipment: Before recording, do a test run to check levels and ensure everything is functioning correctly.
- Minimize Background Noise: Close windows, turn off fans, and eliminate any potential noise sources during recording.
Expert Tips for Beginners
Here are some additional tips to help you succeed:
- Plan Your Episodes: Outline your topics and structure to ensure a smooth flow during recording.
- Practice Your Delivery: Speaking clearly and confidently is key. Consider rehearsing your material before recording.
- Engage with Your Audience: Encourage feedback and questions from your listeners to build a community around your podcast.
Frequently Asked Questions
What type of microphone is best for beginners?
The Audio-Technica ATR2100x is a great choice for beginners due to its versatility and affordability.
Do I need an audio interface?
If you are using an XLR microphone, you will need an audio interface to connect it to your computer.
What software is best for recording podcasts?
Audacity is a popular free option for beginners, while GarageBand is excellent for Mac users.
How can I improve my podcast audio quality?
Use a pop filter, record in a quiet space, and consider adding acoustic treatment to your room.
Is it necessary to have headphones while recording?
Yes, headphones are essential to monitor your audio and ensure sound quality during recording.
Can I record a podcast without a professional studio?
Absolutely! Many successful podcasts are recorded in home studios. Focus on your equipment and environment.
How long should my podcast episodes be?
There is no set length, but many podcasts range from 20 to 60 minutes. Choose a duration that suits your content and audience.
What is the best way to distribute my podcast?
Use podcast hosting platforms like Libsyn, Podbean, or Anchor to distribute your podcast to directories like Apple Podcasts and Spotify.
Conclusion
Starting your podcast is an exciting adventure that allows you to share your voice and ideas with the world. By investing in the right podcast equipment and following the tips outlined in this guide, you’ll be well on your way to producing high-quality audio content that resonates with your audience. If you’re looking for a professional podcast studio, consider World Park in Alpharetta for state-of-the-art facilities and support. Happy podcasting!