
Mastering Professional Video Interviews: The Ultimate Guide to Three-Point Lighting and More
In the world of media production, lighting is one of the most critical elements that can make or break a video interview. Whether you are a startup, a content creator, or a digital agency, understanding how to light a professional video interview can dramatically improve the quality of your production. In this guide, we will delve into the fundamentals of three-point lighting, explore advanced techniques, and provide actionable tips to elevate your video interviews. By the end, you will have the tools and knowledge to create visually stunning content that captivates your audience.
What is Three-Point Lighting?
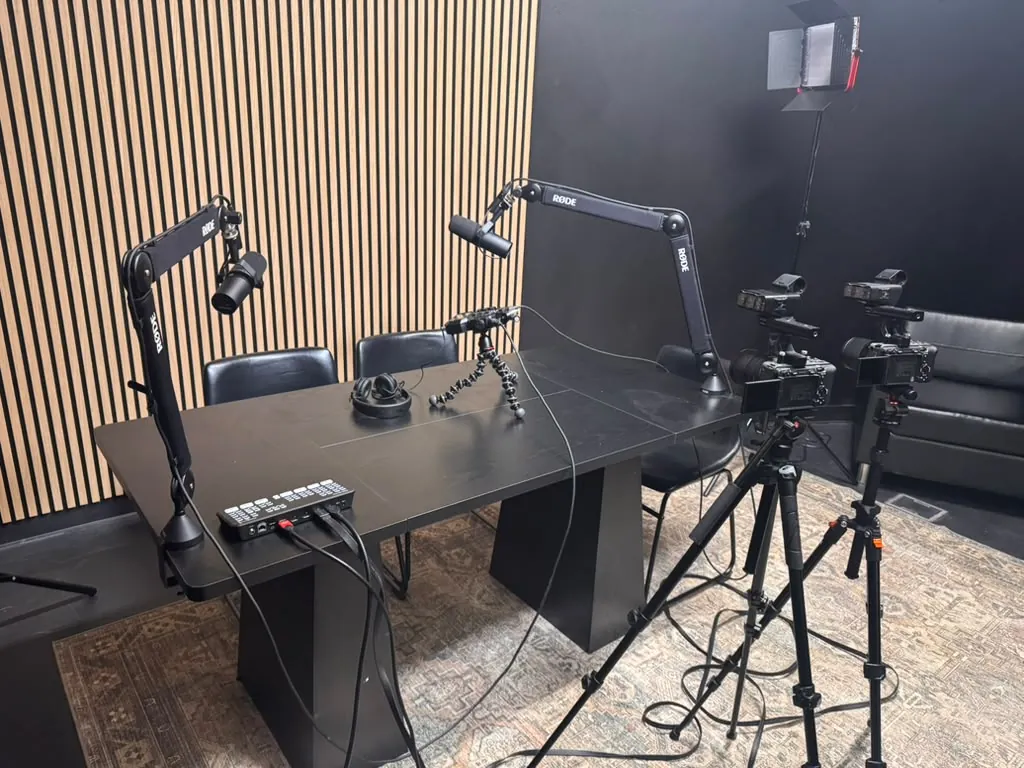
Three-point lighting is a standard method used in visual media, including video interviews, to create a balanced and visually appealing scene. This technique involves using three different light sources to illuminate the subject effectively:
- Key Light: The main source of light that highlights the subject and creates depth.
- Fill Light: A secondary light used to fill in shadows created by the key light.
- Back Light: Positioned behind the subject to create separation from the background.
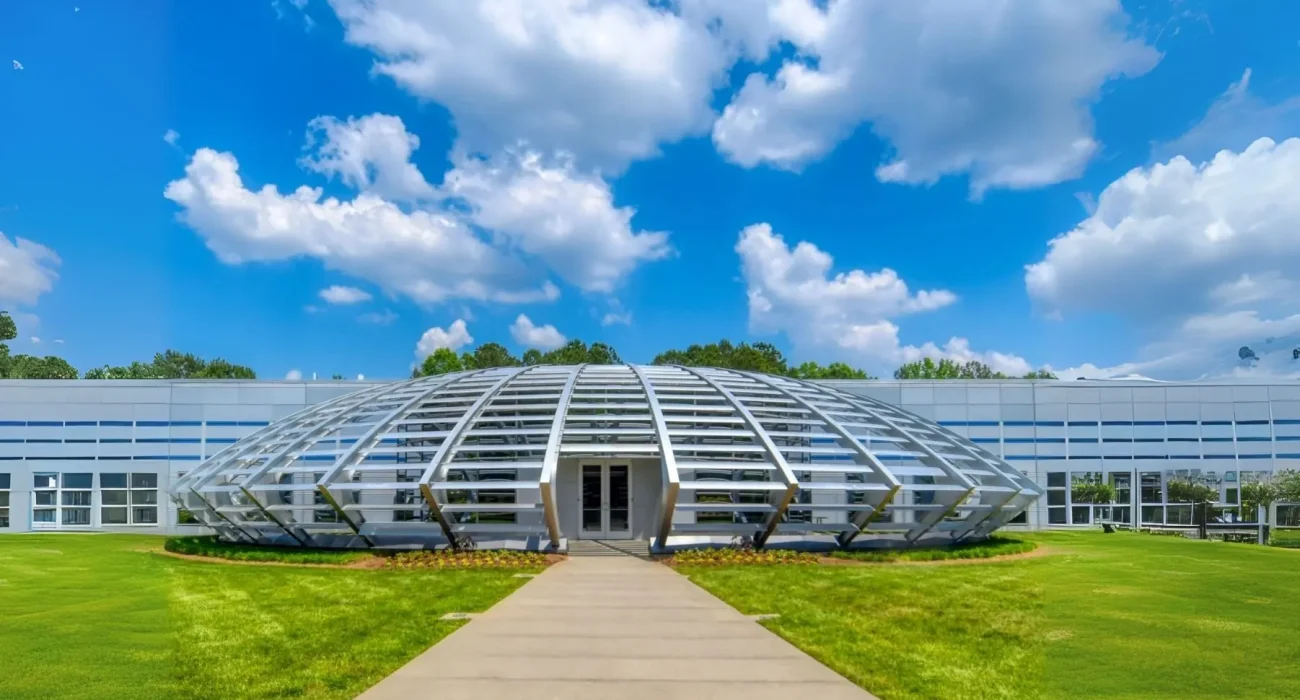
Mastering three-point lighting is essential for anyone involved in video production, especially if you are utilizing a professional podcast studio or video production studio in Alpharetta, GA, like those offered at World Park. This setup provides a clean, professional look that enhances the overall quality of your video content.
The Three Points of Lighting
1. Key Light
The key light is the most crucial element in the three-point lighting setup. It defines the overall exposure of the scene and sets the mood. Typically placed at a 45-degree angle to the subject, the key light should be bright enough to illuminate the subject’s features without causing harsh shadows.
2. Fill Light
The fill light is used to soften the shadows created by the key light. It is generally positioned opposite the key light and is less intense. The fill light helps maintain detail in the shadows, ensuring that the subject appears well-lit and engaging to the audience.
3. Back Light
The back light is placed behind the subject, illuminating their outline and creating a sense of depth. This light is essential for separating the subject from the background, giving the scene a more professional appearance. Properly executed backlighting can add dimension and interest to your video interviews.
Beyond Three-Point Lighting: Advanced Techniques
While three-point lighting is a fundamental technique, there are several advanced methods that can enhance your video interviews further:
1. Natural Light
Utilizing natural light can create a soft, inviting atmosphere. Position your subject near a window to take advantage of daylight, but be cautious of harsh shadows and fluctuating light conditions. Combining natural light with artificial lights can yield beautiful results.
2. Softboxes and Diffusers
Softboxes and diffusers help soften harsh light, reducing shadows and creating a more flattering look. These tools are essential for achieving a professional appearance, especially in video production studios.
3. Color Temperature Control
Balancing the color temperature of your lights ensures that the skin tones of your subjects appear natural. Using lights with adjustable color temperatures or gels can help achieve this balance, making your video interviews visually appealing.
4. Practical Lights
Incorporating practical lights, such as lamps or candles, can add warmth and depth to your scene. These lights can serve as both ambient lighting and visual interest, enhancing the overall aesthetic of your video.
Setting Up Your Lighting
Setting up your lighting for a professional video interview involves careful planning and execution. Here’s a step-by-step guide:
- Choose Your Location: Select a space with minimal distractions and a suitable background.
- Set Up Your Key Light: Position your key light at a 45-degree angle to your subject, slightly above eye level.
- Adjust Your Fill Light: Place the fill light on the opposite side of the key light, ensuring it is less intense.
- Add the Back Light: Position the back light behind the subject to create depth.
- Test Your Setup: Record a short video to check the lighting and make adjustments as necessary.
By following these steps, you can create a well-lit environment that enhances the quality of your video interviews.
Common Lighting Mistakes to Avoid
Even experienced videographers can make mistakes when it comes to lighting. Here are some common pitfalls to avoid:
- Overexposure: Ensure that your key light is not too bright, as this can wash out your subject.
- Harsh Shadows: Utilize fill lights to soften shadows and create a more flattering look.
- Unbalanced Color Temperature: Check that all your lights have a consistent color temperature to avoid unnatural skin tones.
- Ignoring Background Lighting: A well-lit background can enhance your video’s production value.
Expert Tips for Perfect Lighting
Here are additional expert tips to ensure your lighting is on point:
- Invest in high-quality lights that offer adjustable brightness and color temperature.
- Use light meters to measure the intensity of your lights for precise adjustments.
- Experiment with different lighting setups to find what works best for your style and subject.
- Consider hiring a professional lighting technician if your budget allows, especially for high-stakes video interviews.
Frequently Asked Questions
What is three-point lighting?
Three-point lighting is a lighting technique that uses a key light, fill light, and back light to illuminate a subject effectively.
How do I set up three-point lighting for video interviews?
Position the key light at a 45-degree angle to the subject, the fill light opposite it, and the back light behind the subject.
What are common lighting mistakes in video production?
Common mistakes include overexposure, harsh shadows, unbalanced color temperature, and neglecting background lighting.
Can I use natural light for video interviews?
Yes, natural light can create a soft atmosphere, but be cautious of changing conditions and harsh shadows.
What is the best type of lighting for video interviews?
Soft, diffused lighting is generally best for video interviews as it creates a flattering look for the subject.
How can I improve my lighting setup?
Experiment with different angles, light sources, and diffusion materials to find the best combination for your video style.
Do I need professional lighting equipment for video interviews?
While professional equipment can enhance quality, you can achieve good results with affordable lights and proper techniques.
What role does color temperature play in video lighting?
Color temperature affects how skin tones and colors appear on camera; balancing it is crucial for a natural look.
In conclusion, mastering the art of lighting for professional video interviews is essential for anyone looking to create high-quality content. By understanding the principles of three-point lighting and exploring advanced techniques, you can elevate your video production to new heights. At World Park, we provide a modern campus for startups and media production, offering state-of-the-art podcast and video production studios that can help you achieve your creative vision. For more information about our facilities, visit World Park today.